We just completed the biggest project of our lives!
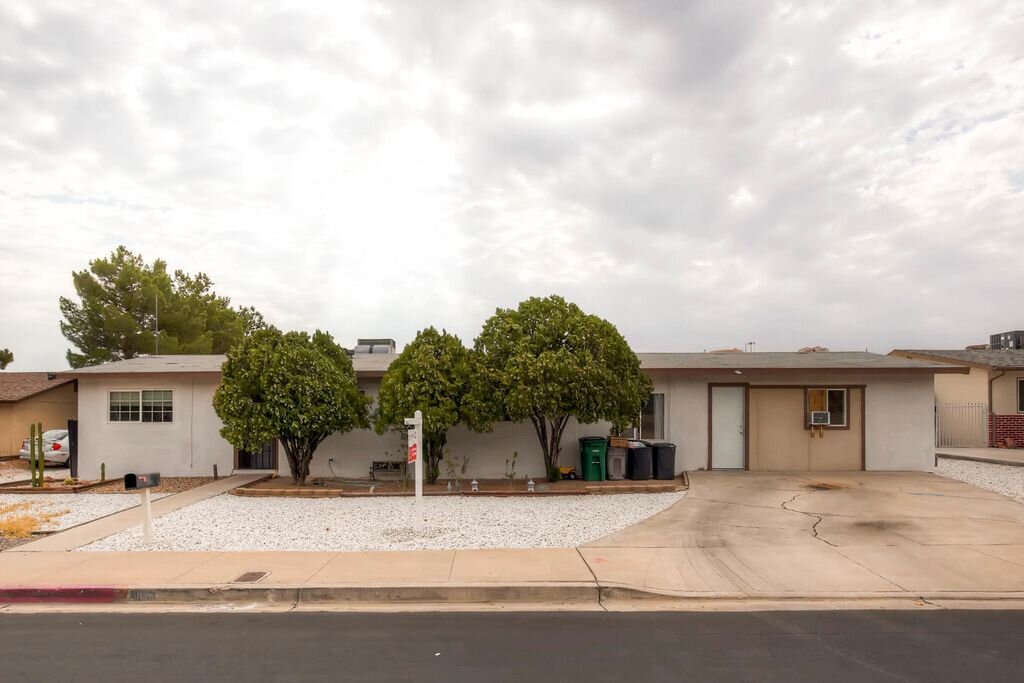
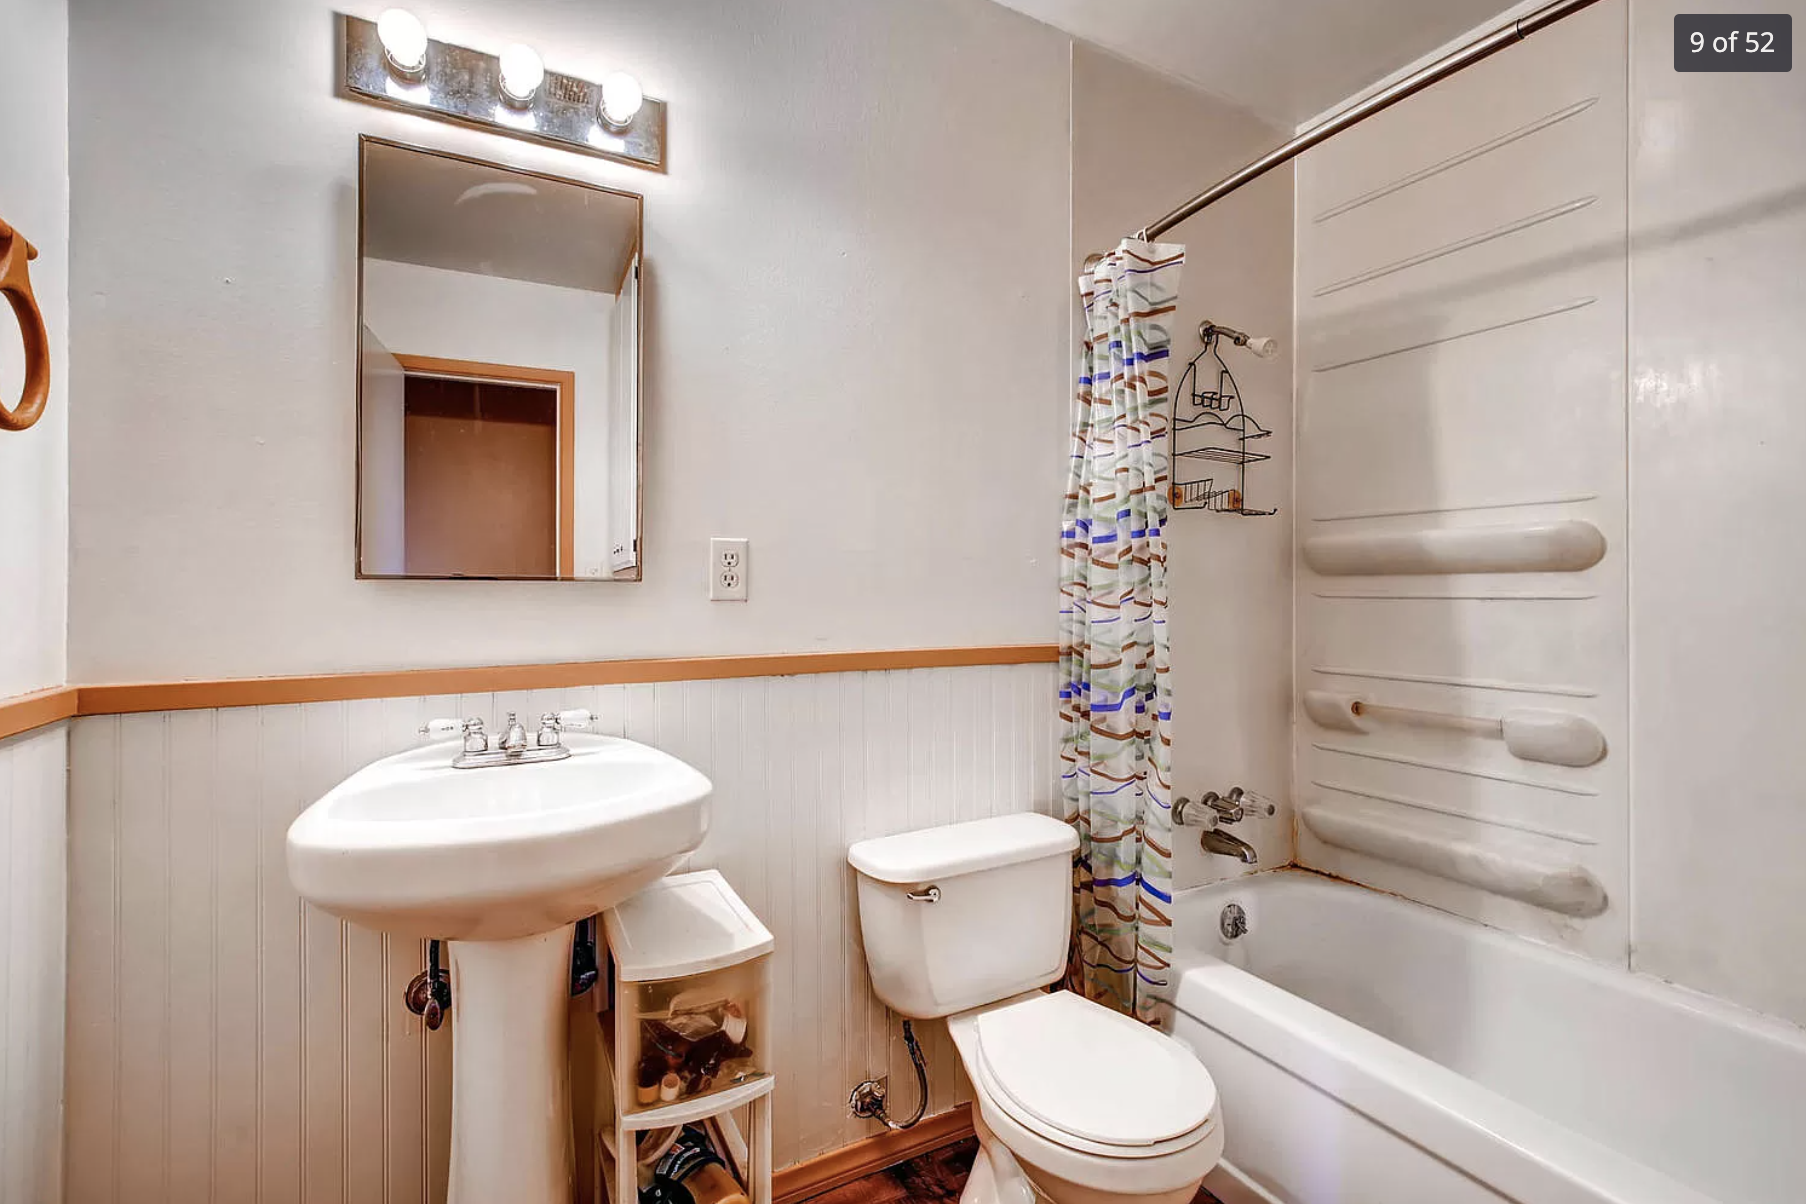
In September of 2016, my husband & I purchased our first home - a foreclosed on, super nasty, fixer upper. It smelled like cigarette smoke, had 10 people living in it’s small sqare footage & was just not what I had in mind for our first house together.
(It even came with a car in the driveway because the homeowners didn’t know where the guy went - so strange!)

It was on the market only for only one day when we told our realtor friend we HAD to have it. It wasn’t advertised in the listing, but we knew it had views of the lake & a super massive unheard of in our area (1/3 acre). SO MUCH POTENTIAL.
It really felt like a gift from God - the perfect way for me to utilize my interior design degree & begin our investment portfolio. There was even a double rainbow above the house on the day we closed & got the keys! If that’s not God’s sign from heaven, I don’t know what is.
Backstory for why we wanted to do this:
In 2013, when Scott & I were just dating, we joined a group called New Wealth Advisors Club in southern California. They were an investment group teaching others how to buy homes for cheap, flip them & make a profit. It was something we always knew we wanted to do, loved learning about & had a deep spark of interest to try for ourselves. We never knew it would turn into this!
The project was long & took about 4 years to accomplish. We did most of the project in cash & nearly every surface was refinished or replaced.
BEFORE PHOTOS


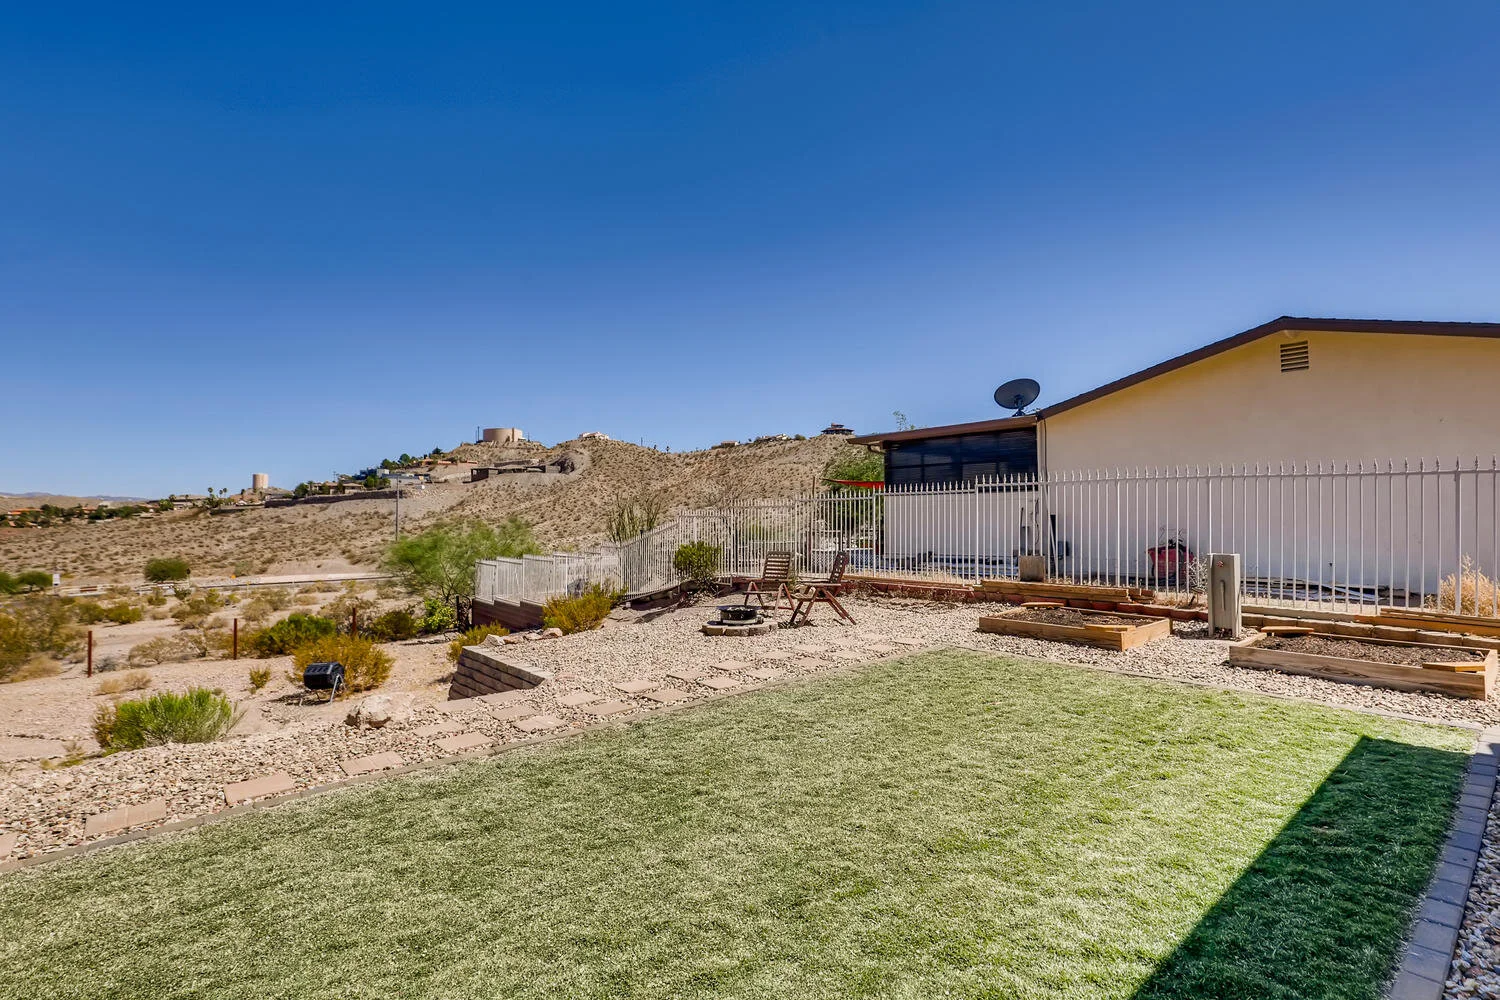
AFTER PHOTOS


It was a challenge to say the least & definitely tested us and our marriage. We have grown SO much during these past 4 years & I’m grateful we were able to make it happen.
A great reminder that good things take time…and the day you plant the seed is not the day you harvest the fruit.
If you have a dream in your heart there IS ALWAYS a way to make it happen (if you’re willing to step outside your comfort zone.)